
How to Reduce Image Size Without Losing Quality
A practical guide to shrinking images the smart way — choosing the right format, dialing in quality settings, and batch-processing hundreds of files in seconds.
Every kilobyte counts on the web. Slow-loading images frustrate visitors, hurt your search rankings, and eat into your hosting budget. The good news? You can dramatically reduce file sizes while keeping images looking crisp. This guide walks you through exactly how.
Lossy vs. Lossless: Know the Difference
Before touching any slider, you need to understand the two fundamental approaches to compression.
Lossless compression removes redundant data without altering visible pixels. Think of it like zipping a folder — when you unzip, everything is identical. PNG uses lossless compression by default, and it is perfect for screenshots, diagrams, and anything with sharp text.
Lossy compression discards information the human eye is unlikely to notice. JPEG, WebP, and AVIF all support lossy mode. The trade-off is a slider: push quality down and file size drops, but go too far and you will see artifacts — blurry edges, color banding, and blocky gradients.
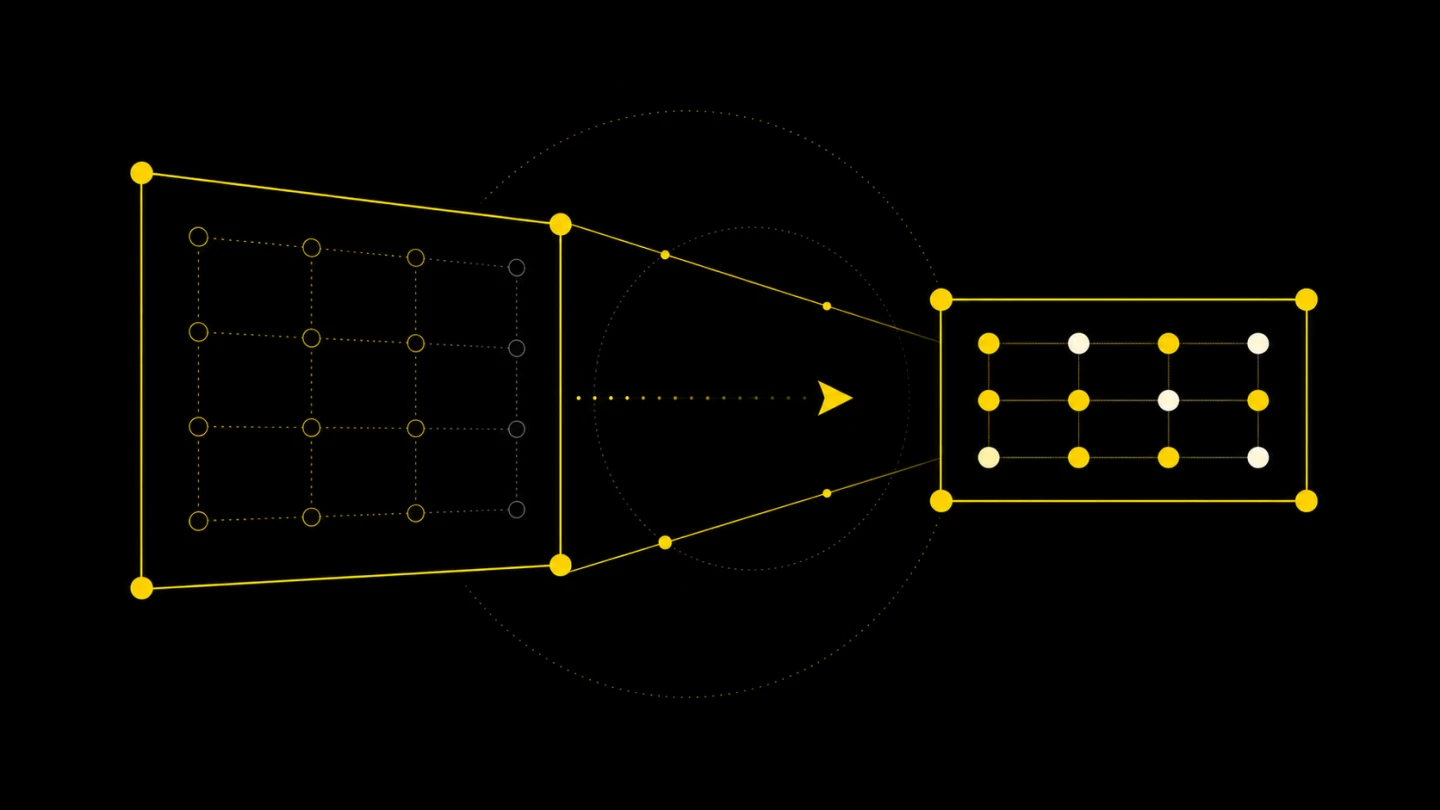
The key insight: most images can lose 15-30% of their data before anyone notices. That is where the magic happens.
Optimal Quality Settings by Format
After compressing thousands of images across various projects, here are the sweet spots I keep coming back to:
JPEG — Set Quality to 80-85%
JPEG is still the most widely used image format on the web. At quality 85%, a typical photo shrinks by 60-70% compared to the uncompressed original, and the difference is virtually invisible. Drop below 75% and you will start seeing artifacts around high-contrast edges.
Pro tip: Enable progressive JPEG encoding. It loads in multiple passes — giving users a blurry preview almost instantly instead of a blank space while the full image downloads. Most modern compression tools enable this by default.
Try it yourself with Small.im's JPEG compressor — it runs entirely in your browser, so your images never leave your device.
PNG — Reduce the Color Palette
PNG is lossless by nature, so there is no "quality slider." Instead, the biggest wins come from reducing the number of colors. A 24-bit PNG with 16 million colors can often be converted to an 8-bit PNG with 256 colors, cutting file size by 60-80% with no visible difference for icons, logos, and UI elements.
For photographs stored as PNG (it happens more often than you think), the smartest move is to convert them to JPEG or WebP instead. Head over to Small.im's PNG compressor to see how much you can save.
WebP — Quality 75-80%
WebP is Google's modern format, and it punches well above its weight. At quality 80%, WebP files are typically 25-35% smaller than JPEG at equivalent visual quality. It supports both lossy and lossless modes, plus transparency — making it a genuine all-rounder.
Browser support is now universal across Chrome, Firefox, Safari, and Edge. If you are not serving WebP yet, you are leaving performance on the table. Compress your images to WebP here.
AVIF — Quality 65-75%
AVIF is the newest contender, and its compression efficiency is remarkable. At quality 70%, AVIF files are often 40-50% smaller than equivalent JPEGs. The catch? Encoding is slower, and older browsers do not support it.
My recommendation: use AVIF as your primary format with a WebP or JPEG fallback. The <picture> element makes this straightforward:
<picture>
  <source srcset="photo.avif" type="image/avif">
  <source srcset="photo.webp" type="image/webp">
  <img src="photo.jpg" alt="Description" loading="lazy">
</picture>
Generate your AVIF files with Small.im's AVIF compressor — no software to install, no files uploaded to external servers.
Choosing the Right Format
Here is a quick decision tree:
- Photographs and complex images — JPEG (compatibility) or WebP/AVIF (performance)
- Screenshots and text-heavy images — PNG (lossless) or WebP lossless
- Icons, logos, simple graphics — SVG first, then PNG-8 with reduced colors
- Transparency needed — WebP or PNG (avoid JPEG — it does not support transparency)
- Maximum compression, modern browsers — AVIF
When in doubt, compress the same image in two or three formats and compare file sizes. You will often be surprised by which format wins for a particular image type.
Batch Processing Workflow
Optimizing one image is easy. Optimizing hundreds is where workflow matters. Here is the approach I use:
- Sort by format. Group your JPEGs, PNGs, and other formats separately — they need different treatment.
- Set format-specific quality. Use the sweet spots above: 85% for JPEG, 80% for WebP, 70% for AVIF.
- Process in bulk. Drag and drop your entire folder into Small.im. It processes everything locally in your browser — no upload limits, no waiting for server round-trips.
- Spot-check results. Open a few compressed images at full size. If quality is acceptable, you are done. If not, bump the quality up 5% and re-process.
- Measure the difference. Compare total folder size before and after. A 60-70% reduction is typical for unoptimized images.
Tips for Web Developers
Beyond compression, a few practices will keep your images lean in production:
Use responsive images. Serve different sizes for different screen widths with srcset. A 2000px-wide hero image on a 375px phone screen is pure waste.
Lazy load below the fold. Add loading="lazy" to any image not visible on initial page load. Every modern browser supports it natively.
Set explicit dimensions. Always include width and height attributes. This prevents layout shifts and improves your Cumulative Layout Shift (CLS) score.
Automate in your build pipeline. If you are using a static site generator or CI/CD pipeline, add an image optimization step. Process once at build time so you never accidentally ship unoptimized images.
Monitor over time. Use Lighthouse or PageSpeed Insights to catch image regressions. One unoptimized upload can undo weeks of optimization work.
Wrapping Up
Reducing image size without losing quality is not about finding one magic setting. It is about matching the right format and quality level to each image type, then applying that consistently across your entire workflow.
Start with the format-specific quality settings in this guide, use a bulk processing tool like Small.im to handle the heavy lifting, and always spot-check your results. Your users — and your server bill — will thank you.